Metadata in Siteleaf
navigateleft July 07, 2013 navigateright

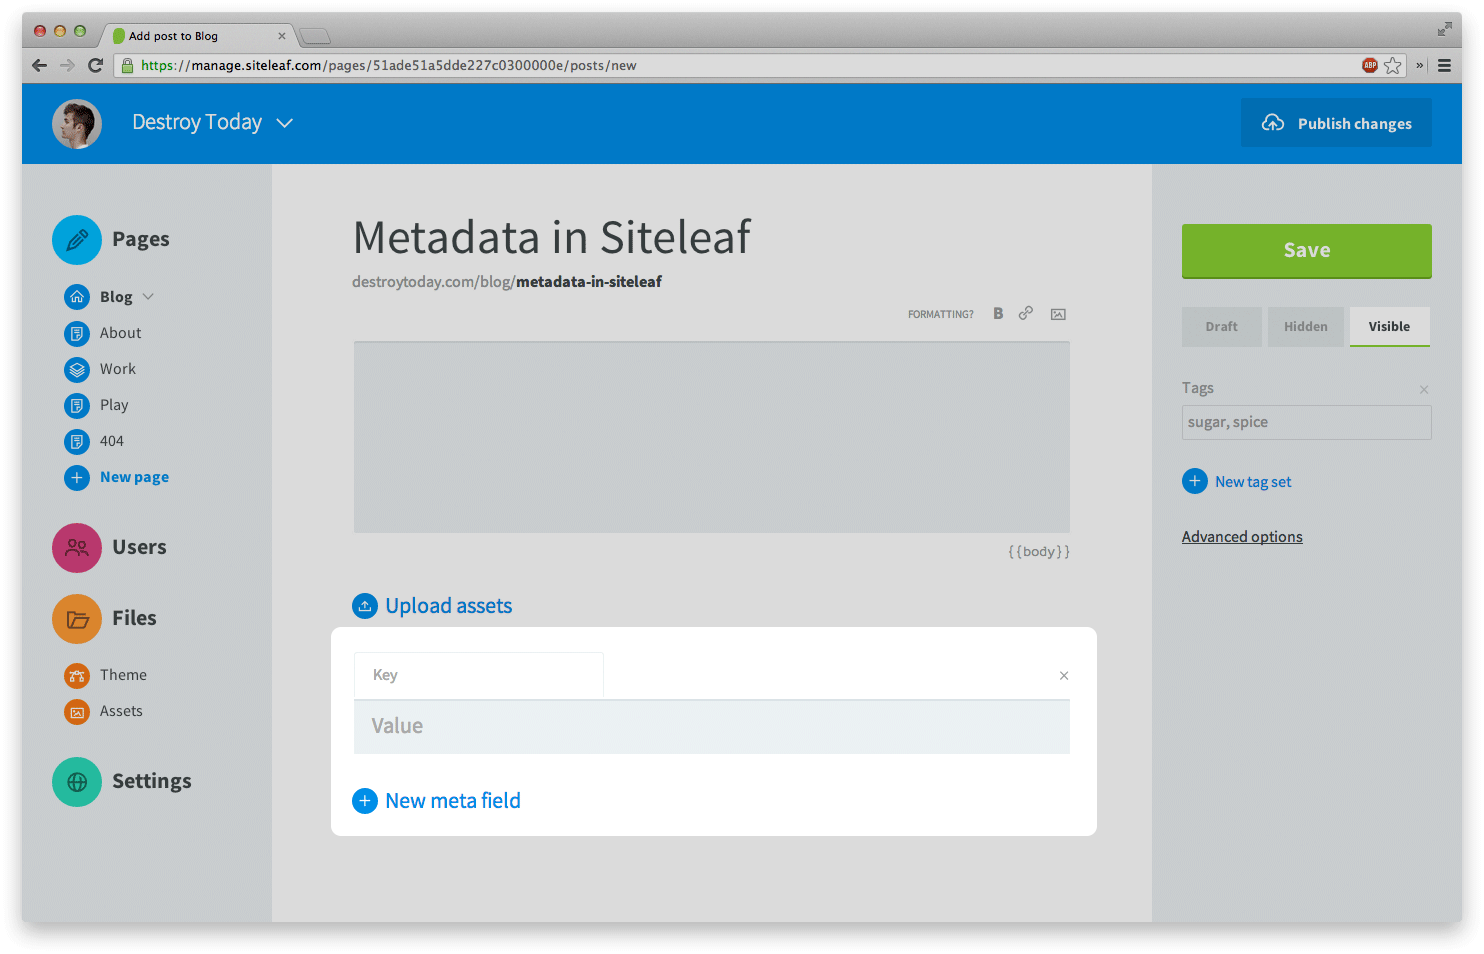
In Siteleaf, metadata is pure key/value data attached to a site, page, or post. It provides a way to interact with templates beyond the basic usage of injecting title or body copy. Metadata can be used to set inline CSS values or specify the number of posts on a given page—the uses are endless. It’s also very flexible, down to a per-entity level. A post could have a completely unique set of metadata compared to that of its siblings. Let’s look at a few examples.
Page-specific color
For my website, I wanted each page to reflect its content. I accomplished this in the previous design through custom color per-page in the ‘Work’ section. All posts, however, looked the same. This time around, since I’m already writing more than ever, I knew posts would benefit from the same custom treatment, but not to the extent of pages. I decided on a single highlight color for each post, extracted from either its hero image or the topic of the post—this one uses the green from the Siteleaf logo.

In our first example, we specify a metadata key color with the value #c00. Notice how Siteleaf displays the correct syntax of this metadata in the lower right. You’ll find these syntax helpers below every input field in Siteleaf’s UI.
<style>
    a {
        color: {{ meta.color }};
    }
</style>
Then, inside the <head> tag of our default template, we create a <style> tag and set the base link color to our metadata value. The keyword meta, in this instance, references the metadata of the current page or post. When looping through posts, you can access each post’s metadata using {{ post.meta.color }}. If your metadata key isn’t a friendly variable name, you can access it with brackets: {{ meta['my color'] }}.
Note — Siteleaf uses the shorter keyword meta when referencing metadata.
Fallbacks
Let’s say your website uses page-specific color, but not all pages call for their own color. In this case, you want the metadata to fall back to your brand color. To do this, we use the Siteleaf’s custom Liquid filter fallback. Now, when a page or post doesn’t have a color metadata, the value will fall back to one of the greatest colors in the entire spectrum.
<style>
    a {
        color: {{ meta.color | fallback: '#007998' }};
    }
</style>
Note — Fallbacks work with any variable, not just metadata.
Site metadata
At the launch of Siteleaf, we only had metadata for pages and posts, but we recently added site metadata as well, taking the separation of content and code one step further. You can use site metadata to manage your website meta, like its description:
<head>
    <meta name='description' content='{{ site.meta.description }}'>
</head>
Using our fallback example from before, you can use site metadata for the fallback value:
<style>
    a {
        color: {{ meta.color | fallback: site.meta.color }};
    }
</style>
Site metadata is especially useful for cases where your website is tied to 3rd party services, like Symbolset, Typekit, or Google Analytics. Here are a few examples:
<head>
    <link href="//cdn.symbolset.com/{{ site.meta.symbolset_id }}/symbolset.css" rel="stylesheet">
</head>
<script>
    (function() {
        var config = {
            kitId: '{{ site.meta.typekit_id }}',
            scriptTimeout: 3000
        };
    })();
</script>
<script>
    var _gaq = _gaq || [];
    _gaq.push(['_setAccount', '{{ site.meta.analytics_id }}']);
    _gaq.push(['_setDomainName', '{{ site.domain }}']);
    _gaq.push(['_trackPageview']);
</script>
Post count limit
I’m not a fan of hard-coded values in my templates. With them, it would be an ordeal to change something as petty as the number of blog posts on my front page. Fortunately, we can use metadata, keeping these values in Siteleaf, where we can easily update them.

For any given page with posts, we simply set the metadata like before. Then, in the template, we set the limit property of the loop to the metadata of the page:
{% for post in posts limit: meta.limit.value %}
    <article>
        <h3>{{ post.title }}</h3>
        {{ post.body }}
    </article>
{% endfor %}
Note — we use the keyword value when referencing the metadata because filters, like limit, must be run on the value of the metadata, not the metadata instance itself. If you remove the value keyword, Liquid will throw an undefined method error.
Social network links
If you’re feeling adventureous, there are a number of tricks you can pull off using Liquid filters and metadata, like listing links to your various networks. There are two ways of going about this that would allow for a flexible, easy-to-update list.

The first method uses a comma-separated metadata value. In the template, we use the assign method along with the split filter to create a variable array of links. Notice that we use the value keyword like in the post count example.
{% assign links = meta.links.value | split: ', ' %}
<ul>
    {% for link in links %}
        <li>
            <a href="{{ link }}">{{ link }}</a>
        </li>
    {% endfor %}
</ul>
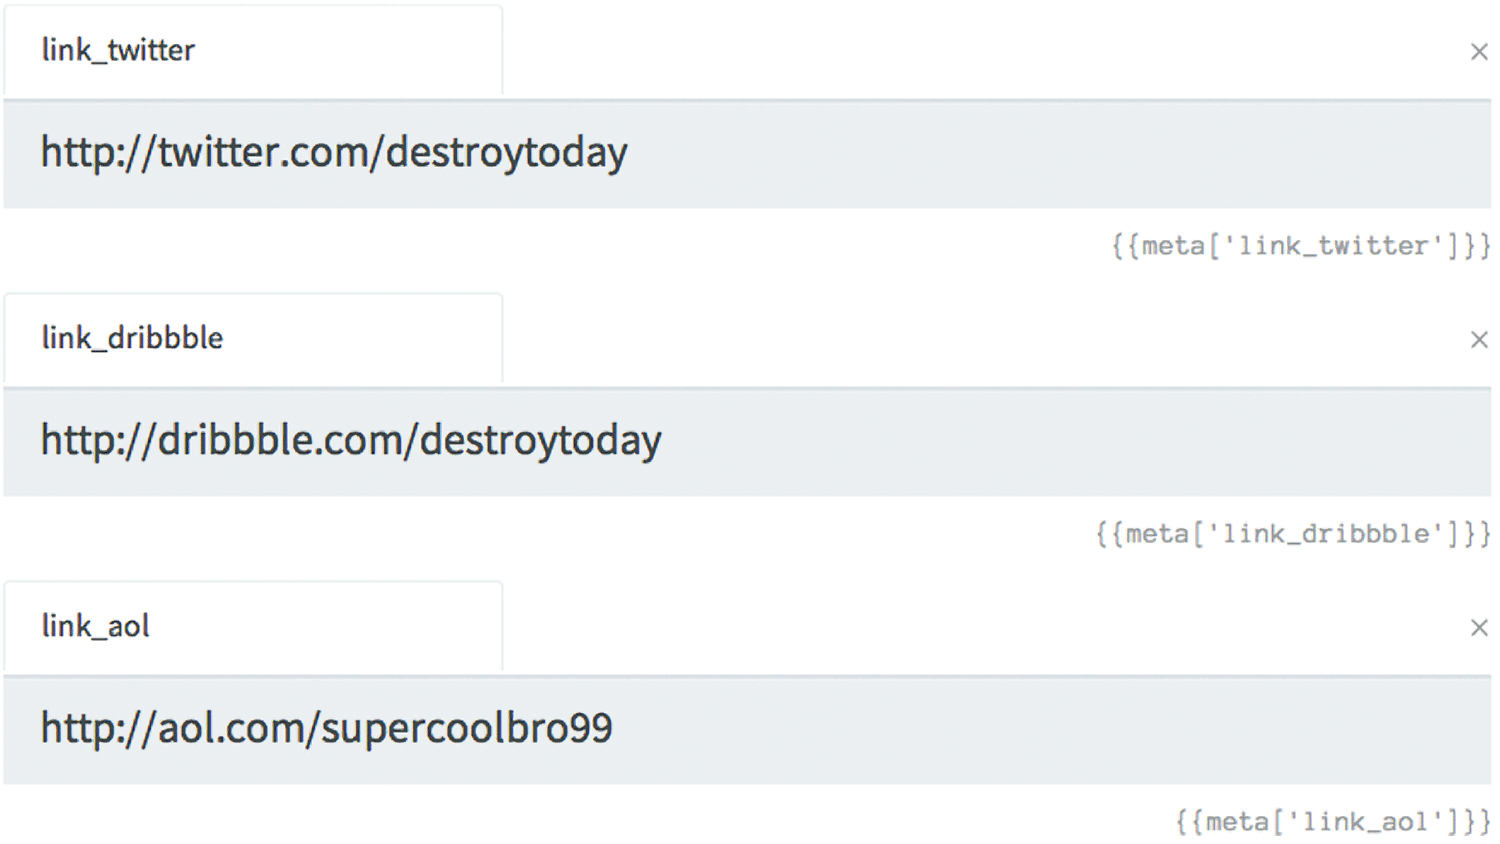
The second method allows you to extract the name of the network, but at the cost of gross code. This time, we create metadata for each link, but we prefix each key with a keyword, like ‘link_’.

Then, in our template, we loop through the metadata, splitting each key along the way. With a conditional, we check that the metadata is one of our links and if it is, we use the second value in our split key as the network name with our value as the URL. You can even use the capitalize filter if you’d like. I told you it would be gross.
<ul>
    {% for data in meta %}
        {% assign key = data.key | split: '_' %}
        {% if key[0] == 'link' %}
            <li><a href="{{ data.value }}">{{ key[1] | capitalize }}</a></li>
        {% endif %}
    {% endfor %}
</ul>
Wrapping up
I hope this article helped in backing up my claim that Siteleaf is a real contender for any website. You shouldn’t need to sacrifice anything when building static. Metadata will allow you to customize any aspect of your website. Be creative. Experiment a bit and see what else you can do. As always, feel free to reach out if you have any questions.