Layouts in Siteleaf
navigateleft October 28, 2013 navigateright

In my last article about Siteleaf, I wrote about what goes into porting a theme to Siteleaf from another CMS. This time around, I’ll show you how to write cleaner, less redundant templates through the use of layouts.
What is a layout?
<html>
    <head>
        ...
    </head>
    <body>
        <header>...</header>
        {{ content }}
        <footer>...</footer>
    </body>
</html>
In Siteleaf, a layout is a base template that can be used and reused as a foundation for your website. For example, the default layout for my website consists of the HTML head content, the header, and the footer. In between the header and footer, I use a {{ content }} tag to insert the rest of my website’s content. This way, I don’t need to copy and paste the surrounding code into every template. I can assign a block of HTML to the content variable and Liquid, our templating engine, will place the variable’s value wherever referenced.
Creating a layout

Let’s get our hands dirty by building our own layout. Start by creating a _layouts folder in your website’s root directory. In this folder, create a default.html file. This file will be used as the base layout. Below is some basic code you can use to get started with your layout:
<html>
    <head>
        <title>{{ title }}</title>
    </head>
    <body>
        {{ content }}
    </body>
</html>
This code simply sets the browser window title and shows any HTML assigned to the content variable.

Now, in your website’s default template (default.html in your root directory), write the following code:
{% capture content %}
    <article>
        <h1>{{ title }}</h1>
        {{ body }}
    </article>
{% endcapture %}

{% include 'layouts/default' %}
With Liquid, we can use the capture tag to assign a block of content to a given variable. In our example above, we assign the title and body of the current page to the variable, content. We then use the include tag to take an HTML file—our default layout—and insert it on that line. The included layout will use the content variable we assigned and Liquid will render this template as a complete HTML page.
Using multiple layouts
Now that we have a single layout, let’s take a look at adding another one. Imagine we have a blog page that shows a post with next and previous links. Since we don’t want these links on all of our pages, we’ll create a new layout on top of the default layout.

Start by creating a blog.html file in your _layouts directory and write the following code:
{% capture content %}
    <article>
        <h1>{{ title }}</h1>
        {{ body }}
    </article>
    <nav>
        {% if previous %}<a href="{{ previous }}">previous</a>{% endif %}
        {% if next %}<a href="{{ next }}">next</a>{% endif %}
    </nav>
{% endcapture %}

{% include 'layouts/default' %}
Like before, we assign our title and body to the variable content, but this time, we also add links to the previous and next posts if they exist. Then, we include the default layout.
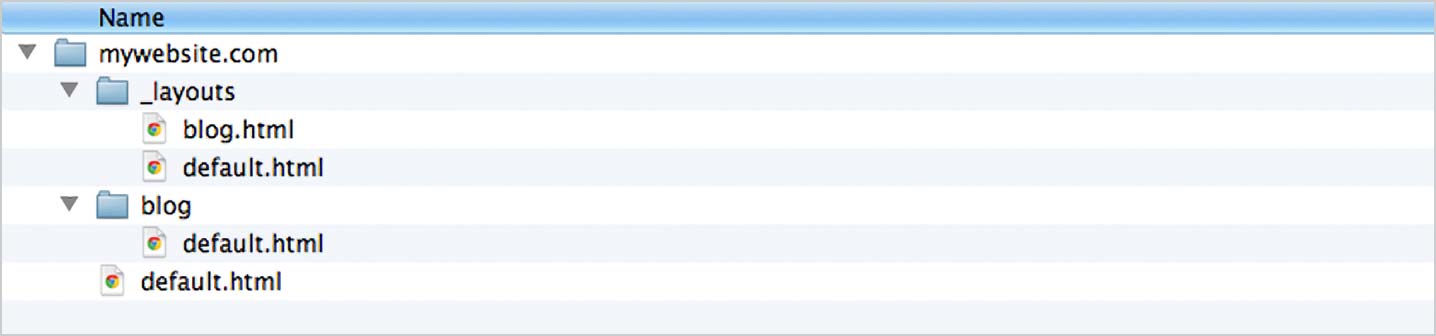
Next, we need to write a blog template that uses this layout. Create a blog directory in your website’s folder and a default.html file inside of it. This HTML file will now be used by all pages and posts that start with /blog in their URL. Inside the blog/default.html file, write the following line of code:
{% include 'layouts/blog' %}
Now, all of our blog posts will use the blog layout, displaying the post with next and previous links, but also inheriting the default layout, so we keep all of our HTML head content. We use an include rather than just putting its code in this template because it allows us to reuse the layout elsewhere.
Let’s say we started a new section on our website, like “Library,” which uses posts for books we’ve read. We could change the name of our blog layout to something more reusable, like paginated.html, which tells us that the layout supports pagination through the next and previous links. Then, we can use it for both our blog and our library.
Wrapping up
Layouts can be incredibly useful for websites that vary from section to section. They can also help keep code to a minimum, resulting in cleaner code base. Try applying layouts to your current website and see if you can reduce the copy pasta. And, as always, don’t hesitate to reach out if you have any questions.